After a little thought, a few more clicks on the computer, and hardly any time at all, here's what I came up with...


I like to call them FAUX BURLAP PRINTS!
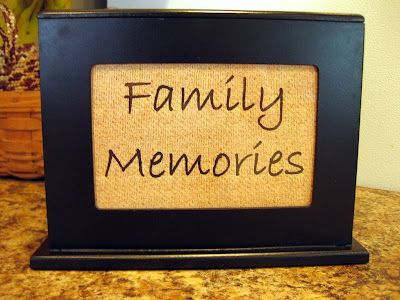
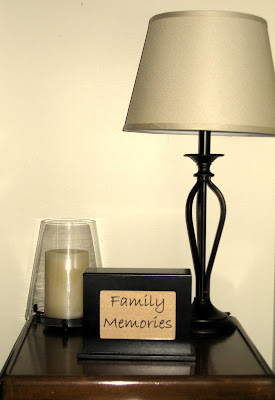
The first two photos were of the ever-so-lovely FAUX BURLAP printed with the title of one of hubby and I's new favorite poems "Slow Dance" to fill a wood picture frame. The third and fourth photos showcased the FAUX BURLAP printed with "Family Memories" for the cover of a photo box full of family photos.
Here's what they look like in their temporary homes...


Here's the tutorial to make your own...
Supplies
Computer with Microsoft Word program
Printer
Frame
Steps
Open a New Document in Microsoft Word.
Decrease view size so that you can see the entire document.
Insert a Rectangle Shape and use measuring tabs on the top and left sides of the document to make your desired shape (I made a 4 x 6 inch shape to fit my frames).
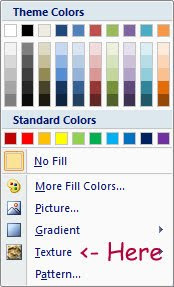
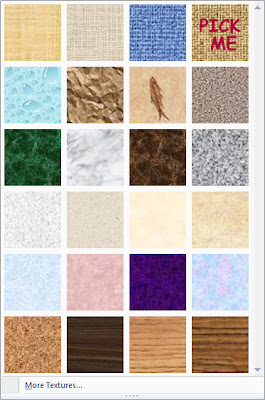
Now fill your shape with a Texture. I chose woven mat as I wanted that lovely burlap look.


Now insert a Text Box.
Add text and personalize text font/size/color.
Adjust the Text Box size as needed to fit within your burlap Rectangle Shape.
Right click on the Text Box and select Format Text Box.
Change Transparency to 100% & change Line color to No Color.
Make any necessary adjustments to achieve the look you want.
Cut out and place in frame.
YOUR DONE!!!
Now, what to do with the rest of the room : )
Until next time...
Linking up to...


Someday Crafts


great idea...welcome to blogging....I'm fairly new as well...come on over and visit..follow along if you'd like...nice to meet you..
ReplyDeleteMariaelena
How cute! Anything I do in burlap I love..it is so versatile. Thanks for sharing with my newbie party.
ReplyDeleteVery cute! I love how easy it is. Thanks for the tutorial too!
ReplyDeleteI'm visiting from Debbiedoo's party and am looking forward to following your blog.
Have a great week!
Pam
Nice job. Love the texture and the graphics. Saw you on Debbie's blog. Stop by and visit me sometime. I just became your 12th follower. Keep Posting!
ReplyDeleteRosemary
IT turned out nice! Linking up this awesome post with us made the Creative Bloggers' Party & Hop better and more special. Thank you!
ReplyDeleteHow cute!! Thanks for sharing!! I would love for you to come link up on Thursday!
ReplyDeletewww.acreativeprincess.blogspot.com